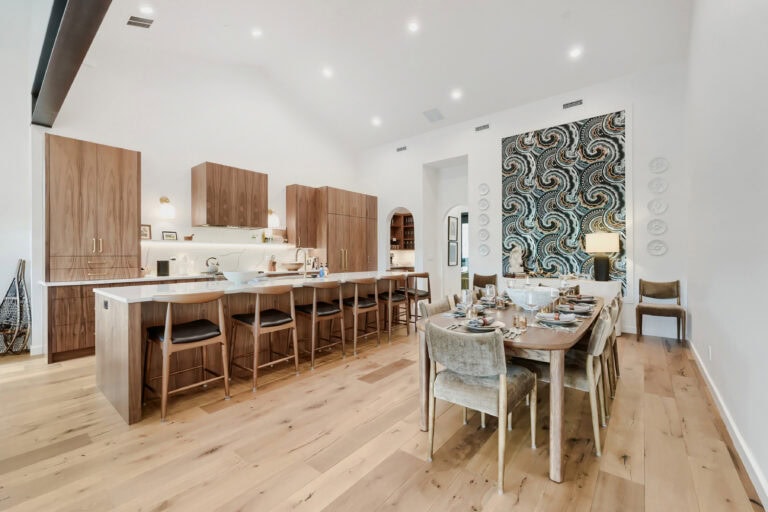
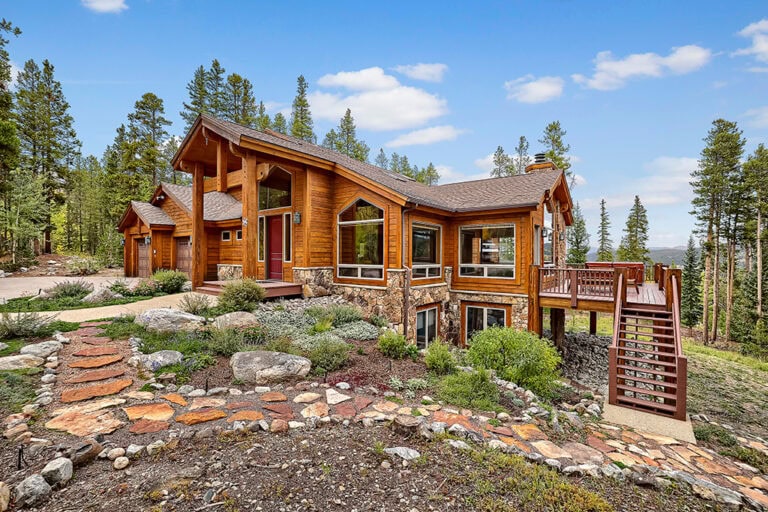
Professional photography is the #1 factor that will determine how much money your property will sell for. While the quality of the photography is important, it’s just as important to make sure your house is clean and organized to make it as marketable as possible.
This comprehensive guide outlines the essential steps to quickly prepare a property for a professional real estate photography photoshoot, maximizing its visual impact, increasing its marketability, and ensuring it stands out on real estate websites.
Would you view a house with burned-out lightbulbs and clutter everywhere? We’d venture to guess probably not. Using our expert tips and simple checklists, you can ensure your property looks stunning from the inside out!
Interior photoshoot preparation checklist
Interiors can sometimes be tricky as it consists of big picture preparations as well as the small details. To capture the essence of every room and show off the home’s full potential, ensure every room is in showroom condition by vacuuming carpets, dusting surfaces, and addressing any visible wear or damage.
Let’s move into the specifics for prepare the interior of your home –
Lighting
- Turn on all lights
- Replace any burnt-out bulbs
- Open all curtains
- Twist open blinds (but don’t worry about pulling them up)
Kitchen
- Remove fridge magnets
- Wipe down counters
- Remove non-decorative items such as dish soap, paper towel rolls, sponges
Tip: If you’re in a rush, stow away loose items under the sink
Bathrooms
- Lower toilet seats
- Remove non-decorative items (i.e. soaps, lotions, mouthwash, toothbrushes)
- Wipe down counters
Bedrooms
- Make beds
- Fluff pillows
- Hide laundry
- Remove personal items
Overall for the interior spaces, make sure everything is tidied and decluttered, and remove personal items such as family pictures and holiday decor. If there are pets present, either let them outside, in the garage or the basement.
Also, simple staging is an easy trick that can add interest to a space. Arrange furniture to create an inviting, open flow while removing any unnecessary pieces that obstruct viewpoints. Place unobtrusive decorative items on counters and tables. These may include fresh flowers or fruit, vases, lit candles and more. If possible, hide any cords throughout the house.
Exterior photoshoot preparation checklist
Not all listings will come with freshly landscaped yards, but there are ways to quickly maximize curb appeal for listing photos:
- Hide lawn equipment
- Dispose of pet waste
- Get lawn mowed
- Sweep walkways
- Remove any flags
- Remove vehicles from the driveway
- Ensure garbage bins are not on the curb or in the driveway
- Close garage door (if applicable)
5 Expert tips to ensure your home is ready for photos
For professional real estate photographers, proper preparation is crucial to ensure flawless images that capture the essence and appeal of the property. Real estate professionals and photographers across the nation agree on the following rules of thumb to ensure your property is ready to be captured.
1. Start early
Take it from the Mile High Home Pro, Matt Metcalf: being early is everything!
“Showing up early to your photo sessions for properties is extremely important. It gives you the opportunity to help prepare the house prior to the photographer showing up, which allows them to spend their time making sure to get the best shots with the best lighting instead of prepping the home.”
2. Declutter and clean
Before photographing a property, removing any clutter and ensuring a clean and pristine environment is essential. Clutter can be distracting and diminish the property’s visual appeal.
Start by removing personal belongings, excess furniture, and any items that may visually clutter the space. A clean and organized environment allows the property’s unique features to shine through the lens, highlighting its true potential.
3. Stage for success
Staging a property is an art form that helps create a visually enticing and emotionally engaging environment for potential buyers. When preparing for a professional real estate photography photoshoot, consider the following staging tips:
- Neutralize the decor: Aim for a neutral color palette that appeals to the widest range of buyers. Neutral tones create a clean and timeless look, allowing potential buyers to envision themselves in the space.
- Highlight focal points: Identify the property’s unique features and accentuate them. This could include a stunning fireplace, a picturesque view, or an architectural detail.
- Add tasteful decor: Strategically place furniture, artwork, and decorative items to enhance the ambiance and create a sense of luxury and comfort.
- Enliven with plants and flowers: Adding greenery and fresh flowers can bring life to a space and make it more inviting.
If staging isn’t an option—we get it, it can be expensive—consider virtual staging for a more affordable option to create a liveable space in your online marketing.
4. Enhance curb appeal
The exterior of the property is the first impression potential buyers will have. To ensure a positive impact, pay attention to the following aspects:
- Landscaping: Trim bushes, mow the lawn, and remove debris. Neat and well-maintained landscaping enhances the property’s curb appeal and sets a positive tone for the photoshoot.
- Exterior maintenance: Evaluate the condition of the property’s exterior. Touch up paint, clean windows, and repair any visible damage or wear.
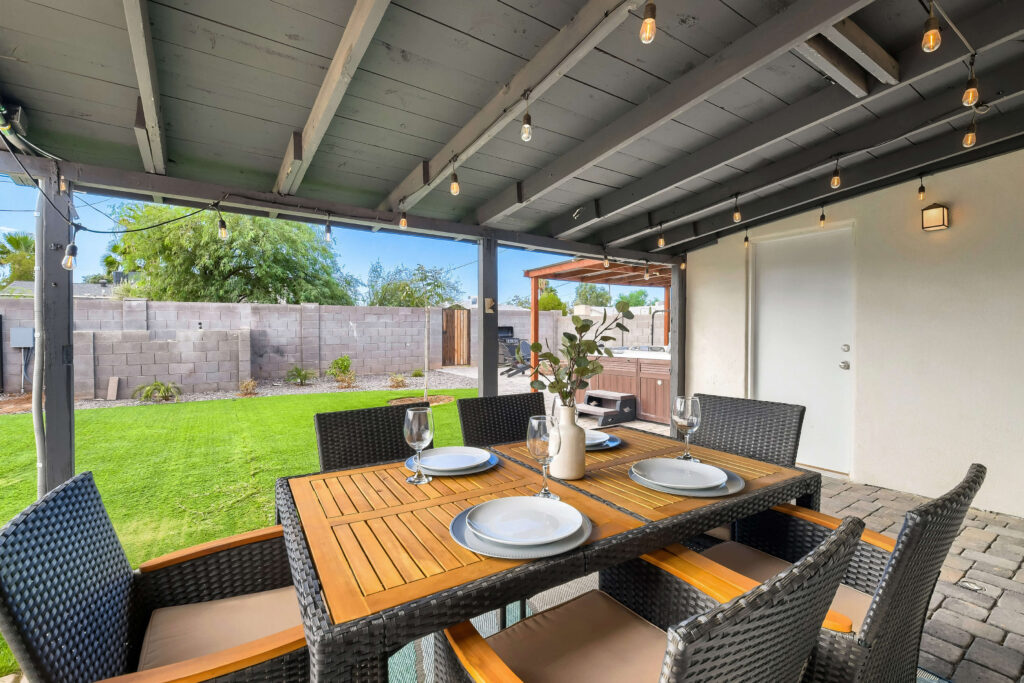
- Outdoor areas: Stage outdoor spaces like decks, patios, or gardens. Arrange furniture, add cushions, and create an inviting atmosphere to showcase the potential for outdoor living.
5. Optimize lighting
Proper lighting is crucial in real estate photography.
- Natural light: Utilize natural light as much as possible. Open curtains and blinds to let in natural sunlight, creating a bright and welcoming atmosphere.
- Lighting fixtures: Ensure that all bulbs are functional and emit a consistent color temperature. Replace any burnt-out bulbs and consider using warm, soft lighting to create a cozy ambiance.
- Balance light sources: Note any drastic differences between natural and artificial lighting. Adjust curtains, blinds, and lighting fixtures to achieve a balanced lighting scheme throughout the property.
Is your home ready to be captured?
Preparing a property for a professional real estate photoshoot requires attention to detail, but the payoff is immense. By taking the time to declutter, stage key areas, enhance curb appeal, and optimize lighting, you can create a captivating environment that highlights your home’s best features and stands out online.
Ready to showcase your listing in the best light and secure a faster sale? Download our free, print-ready pre-shoot checklist to ensure every room is picture-perfect, or order your professional photoshoot with Virtuance today.
First time booking with us? Use promo code BLOG50 at checkout for $50 off your first shoot!
FAQ
Ensure the interior end exterior look clean and inviting. Remove personal items like family pictures and holiday decor to create a neutral appeal. Open curtains and twist blinds to allow natural light in.
No, real estate photographers shoot properties as is. To encourage competitive offers and selling your listing at the highest asking price, make sure you take the time to properly prepare your listing before photos.
Yes, staging can have a significant impact on the final sale price of a property. Properly staged homes often sell for higher prices than unstaged ones by showcasing the property’s potential and helping buyers envision themselves living there.