


Real estate photography is a promising career choice for photographers. This form of photography continues to grow in popularity and demand as the real estate industry shifts to online platforms like Zillow and other third-party listing sites.
If you choose to begin a career in real estate photography, whether part-time or full-time, there are a few avenues from which to choose. You can be a freelance real estate photographer or work for a real estate photography provider as a contracted photographer. This decision depends on whether you want only to take photos or you want to take the pictures, edit, and deliver them.
For photographers that want to get into real estate photography, take a look at our five tips below:
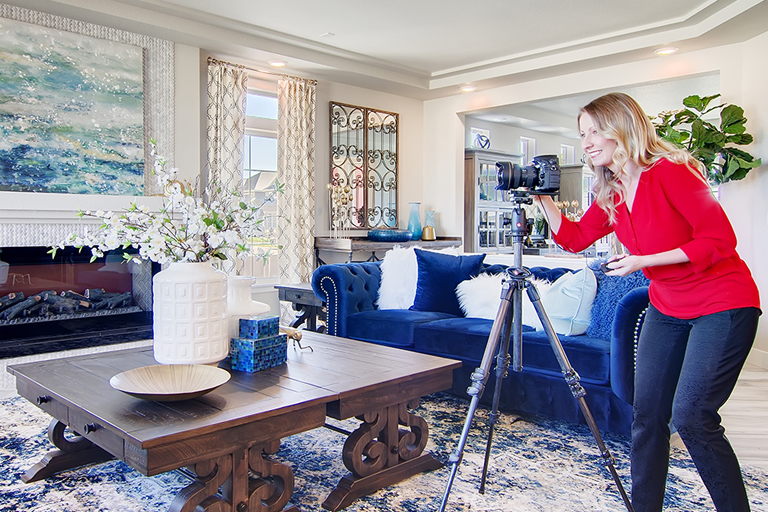
1. Real estate photography equipment
Fortunately, the list of equipment needed for real estate photography is small. You’ll essentially need three core tools:
-
DSLR Camera: The foundation for high-quality images.
-
Wide-Angle Lens: Essential for capturing the full scope of interior spaces.
-
Tripod: Crucial for stability, ensuring sharp, level photos.
Additionally, depending on your photography and post-production technique, you may or may not need:
-
Lighting Kit: Some photographers use artificial lighting, while others achieve optimal exposure through bracketing and post-production editing.
A few camera brands to look at include Canon and Nikon. These are the industry go-to’s and are preferred among most professional real estate photographers.
A wide-angle lens allows you to capture more of the interior space, helping home buyers better understand the area. A wide-angle lens also enables the real estate photo to stand out online.
A tripod is an incredibly important tool for real estate photographers. A tripod helps the photographer to level the camera and generally eliminates any issues with focus and clarity.
If you plan to edit your images, you’ll need editing software like Adobe Lightroom or Photoshop. Adobe charges a monthly subscription for these services.
2. Image composition
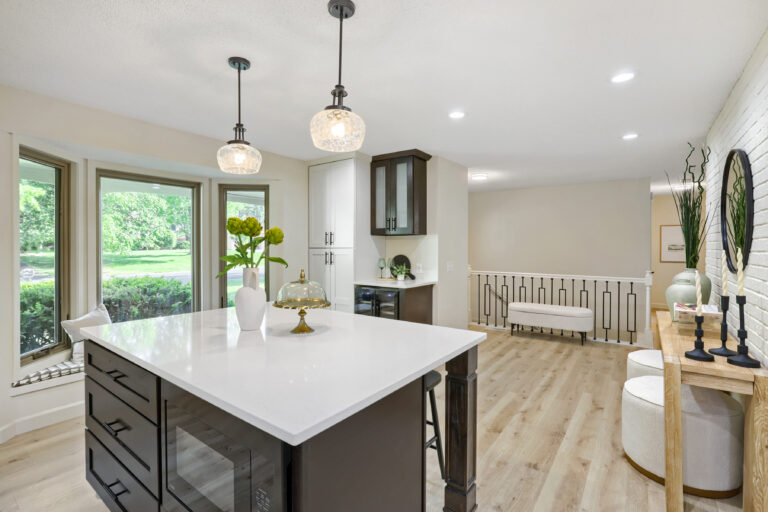
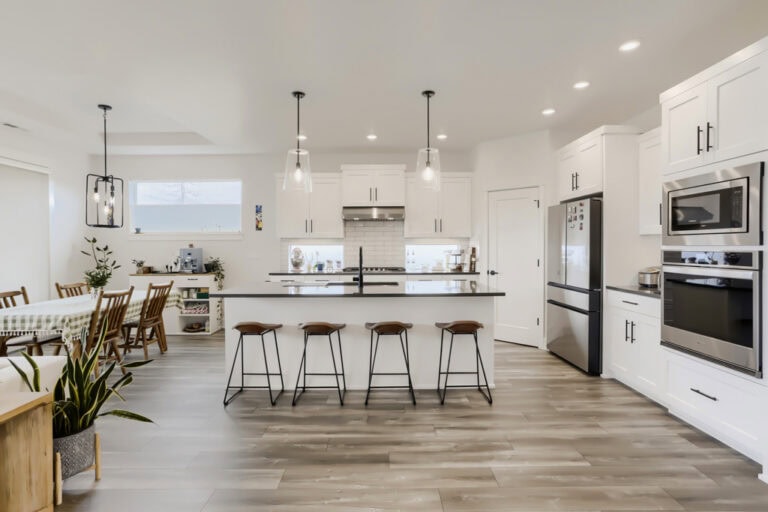
Understanding image composition can make or break you in the real estate industry. Image composition includes camera/tripod height, vertical alignment, the third wall, and lighting. When you enter an interior room, you need to determine how to create the best image composition to capture the space.
Your camera and tripod height should mimic how someone sees and utilizes the space. For example, capture a living room at a seated height and capture a kitchen at counter height. Another rule of thumb is to capture the real estate image at chest or doorknob height (depending on the space). These techniques will help you capture the right amount of ceiling and floor for ideal balance and composition.
Vertical alignment is crucial for real estate photography. The real estate image should have the same vertical lines as the corners of the walls. This composition technique ensures that the real estate image looks professional. To capture an image with vertical alignment, you can use a tilt-shift lens. You can also use the grid option on your camera’s display. Lastly, you can edit vertical alignment in post-production.
3. Preparing the listing
Ideally, the real estate agent helps their client prepare the listing, but you may need to make some adjustments while on-site. For instance, you can implement a “two-minute rule” per room:
-
Declutter: Remove or hide unnecessary items from the frame (e.g., soap, used towels, lotions, kitchen utensils). For exceptional customer service, return items to their original place after the shot.
-
Optimize Lighting: Open any blinds halfway to let in light and turn on all lights.
-
Adjust Details: Straighten shower curtains and close toilet lids.
If you feel the listing isn’t ready and your two-minute rule isn’t adequate, consider asking the real estate agent to reschedule. An unprepared listing can reflect poorly on all parties, and client satisfaction is paramount.
4. Photo editing and post-production
After you take real estate images of a listing, you need to review and edit them. To ensure that your photos are safe, upload them as soon as possible to your computer from your card. If you’re editing in Adobe Lightroom, you may have preferred presets for your real estate photos. Presets help you work faster and more efficiently. You need to also focus on editing the image’s exposure, lighting, clarity, and verticals.
This part of the real estate photography process is not for everyone, and some photographers opt to have other professionals edit their images. For example, Virtuance Real Estate Photography has a team of photographers in several markets who take the images, and then Virtuance handles all of the editing and the delivery of the images.
5. Real estate marketing enhancements
Lastly, you need to decide if you are going to offer additional marketing enhancements to your clients. This can include floor plans, 3D tours, single property websites, aerial photography and videos, and more. Some professional real estate photographers will offer a few of these marketing enhancements, while others will only offer still image packages.
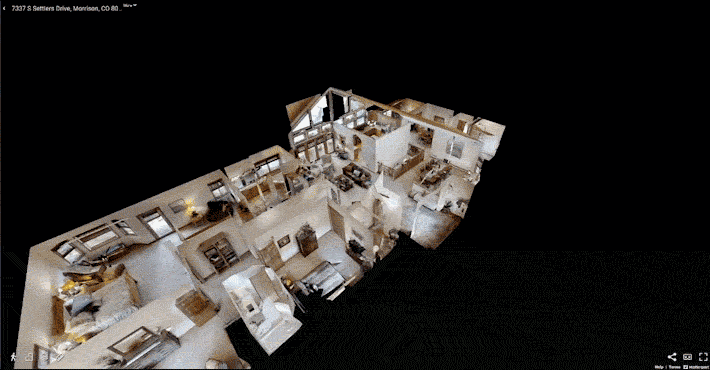
Your decision depends on your skill level, how much time you can commit to your profession, and your client base. Some real estate agents only want still images, while others expect more marketing tools to promote their listings.
Becoming a real estate photographer with Virtuance
If you are interested in working as a professional real estate photographer with a flexible schedule and a network of other photographers nationwide, take a look at Virtuance. We might be hiring in your city!
If you’re a real estate agent looking for a professional photography provider, learn more about how we can help you stand out and grow your business!